
Course Information
Course Features
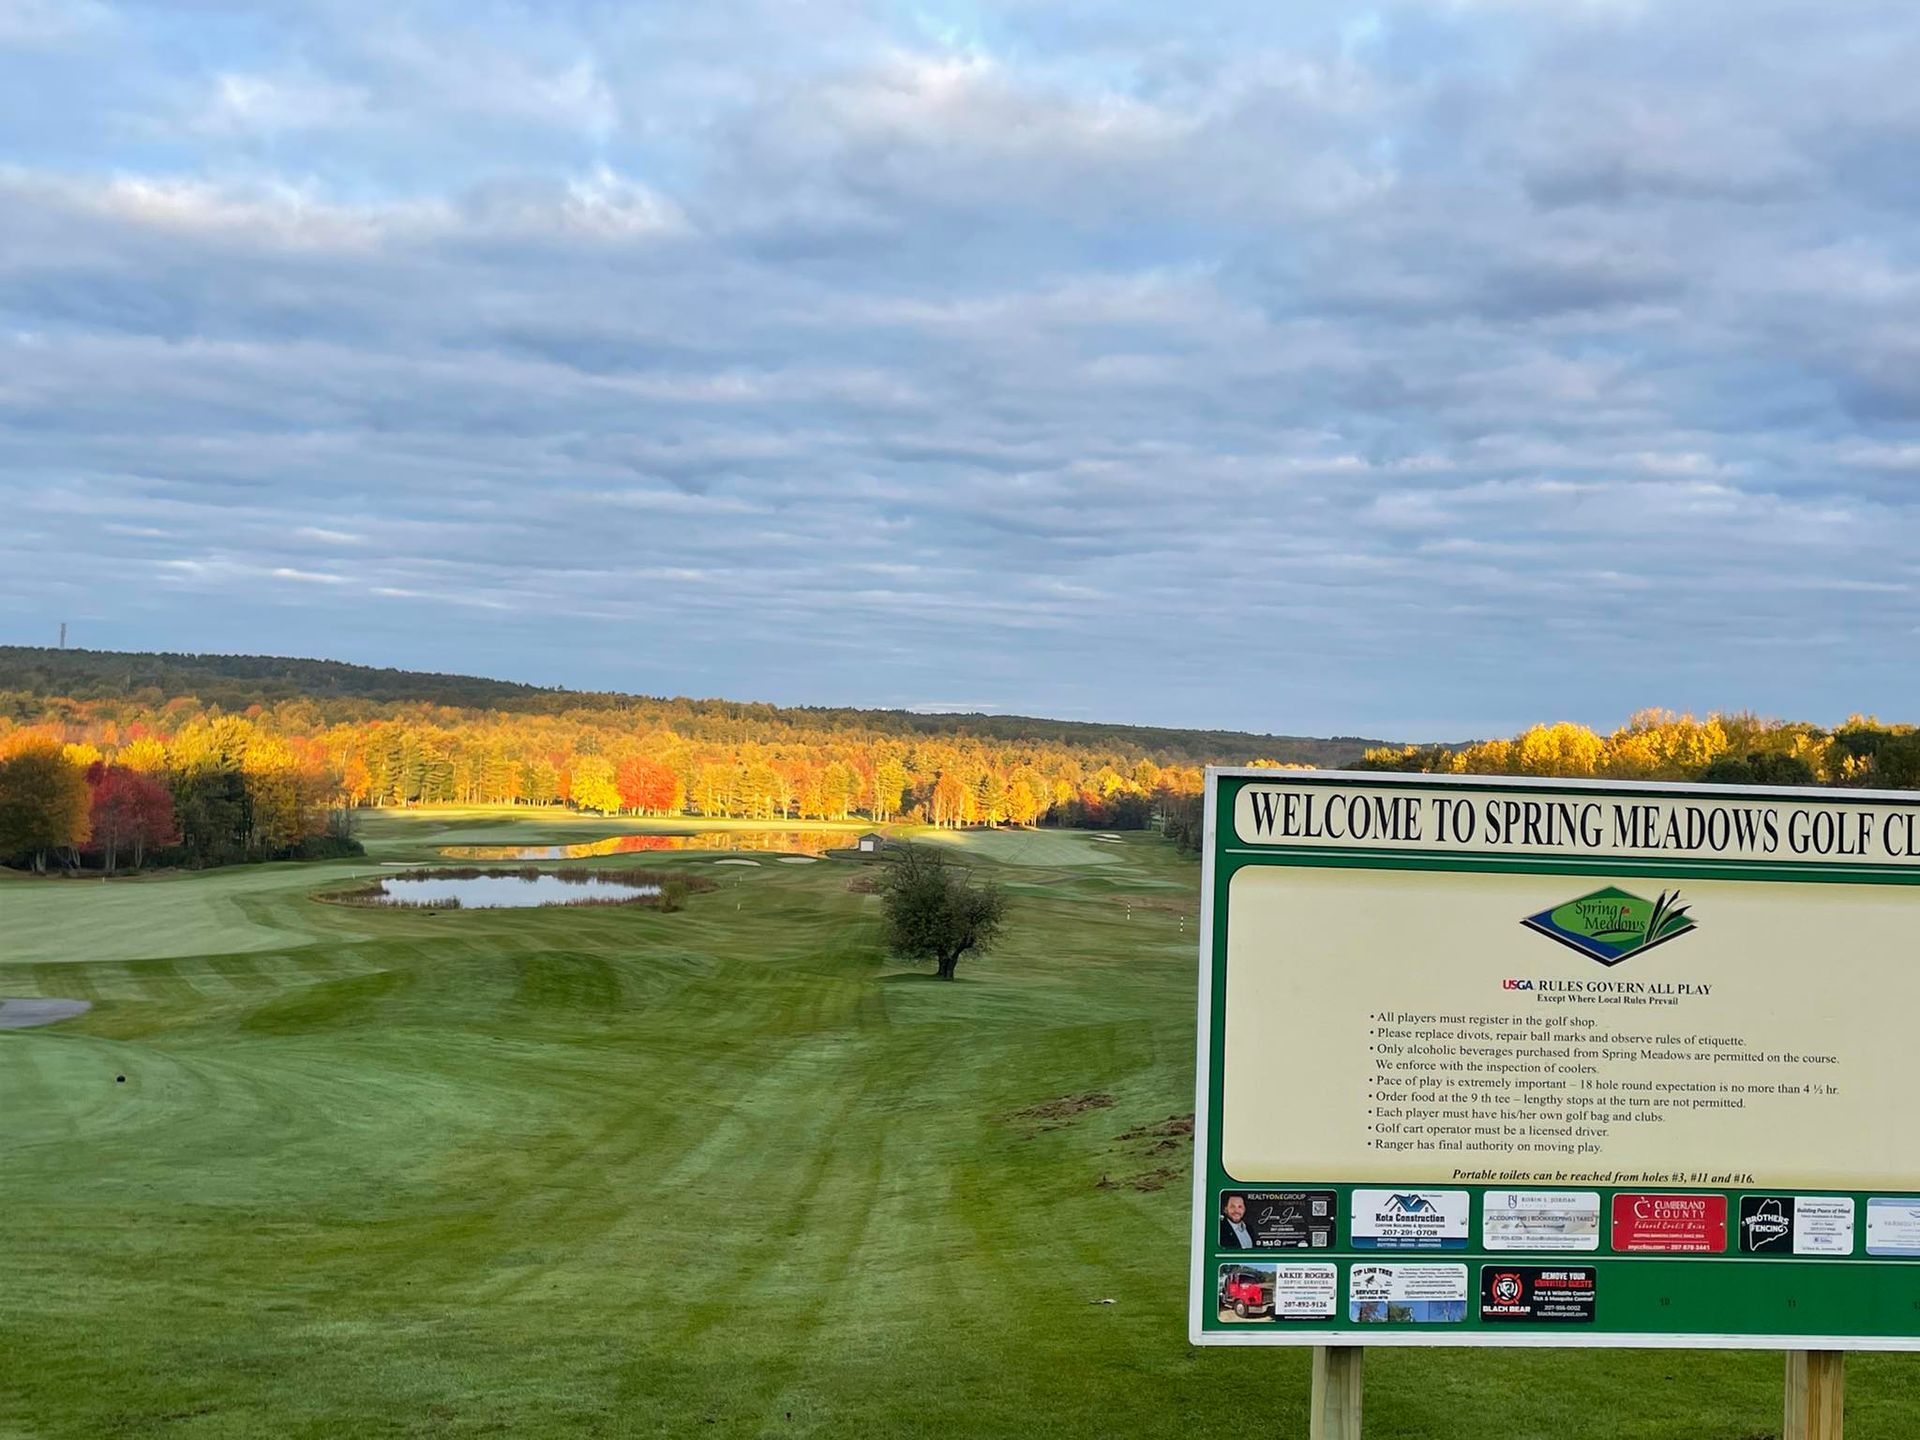
Spring Meadows Golf Club is an 18-hole championship course that has been a premier golfing destination in Maine since 2001. Originally a family dairy farm, the land was transformed into a beautifully designed course by architect Bradley Booth and master shaper Fred Stone. Known for its exceptional course conditions, Spring Meadows has received high praise, including recognition from Golf Digest as “a venue worth the drive.” In addition to its scenic fairways and challenging layout, the course features a restored 1922 barn that now serves as a charming event center for banquets, weddings, and social gatherings.
Course Tour
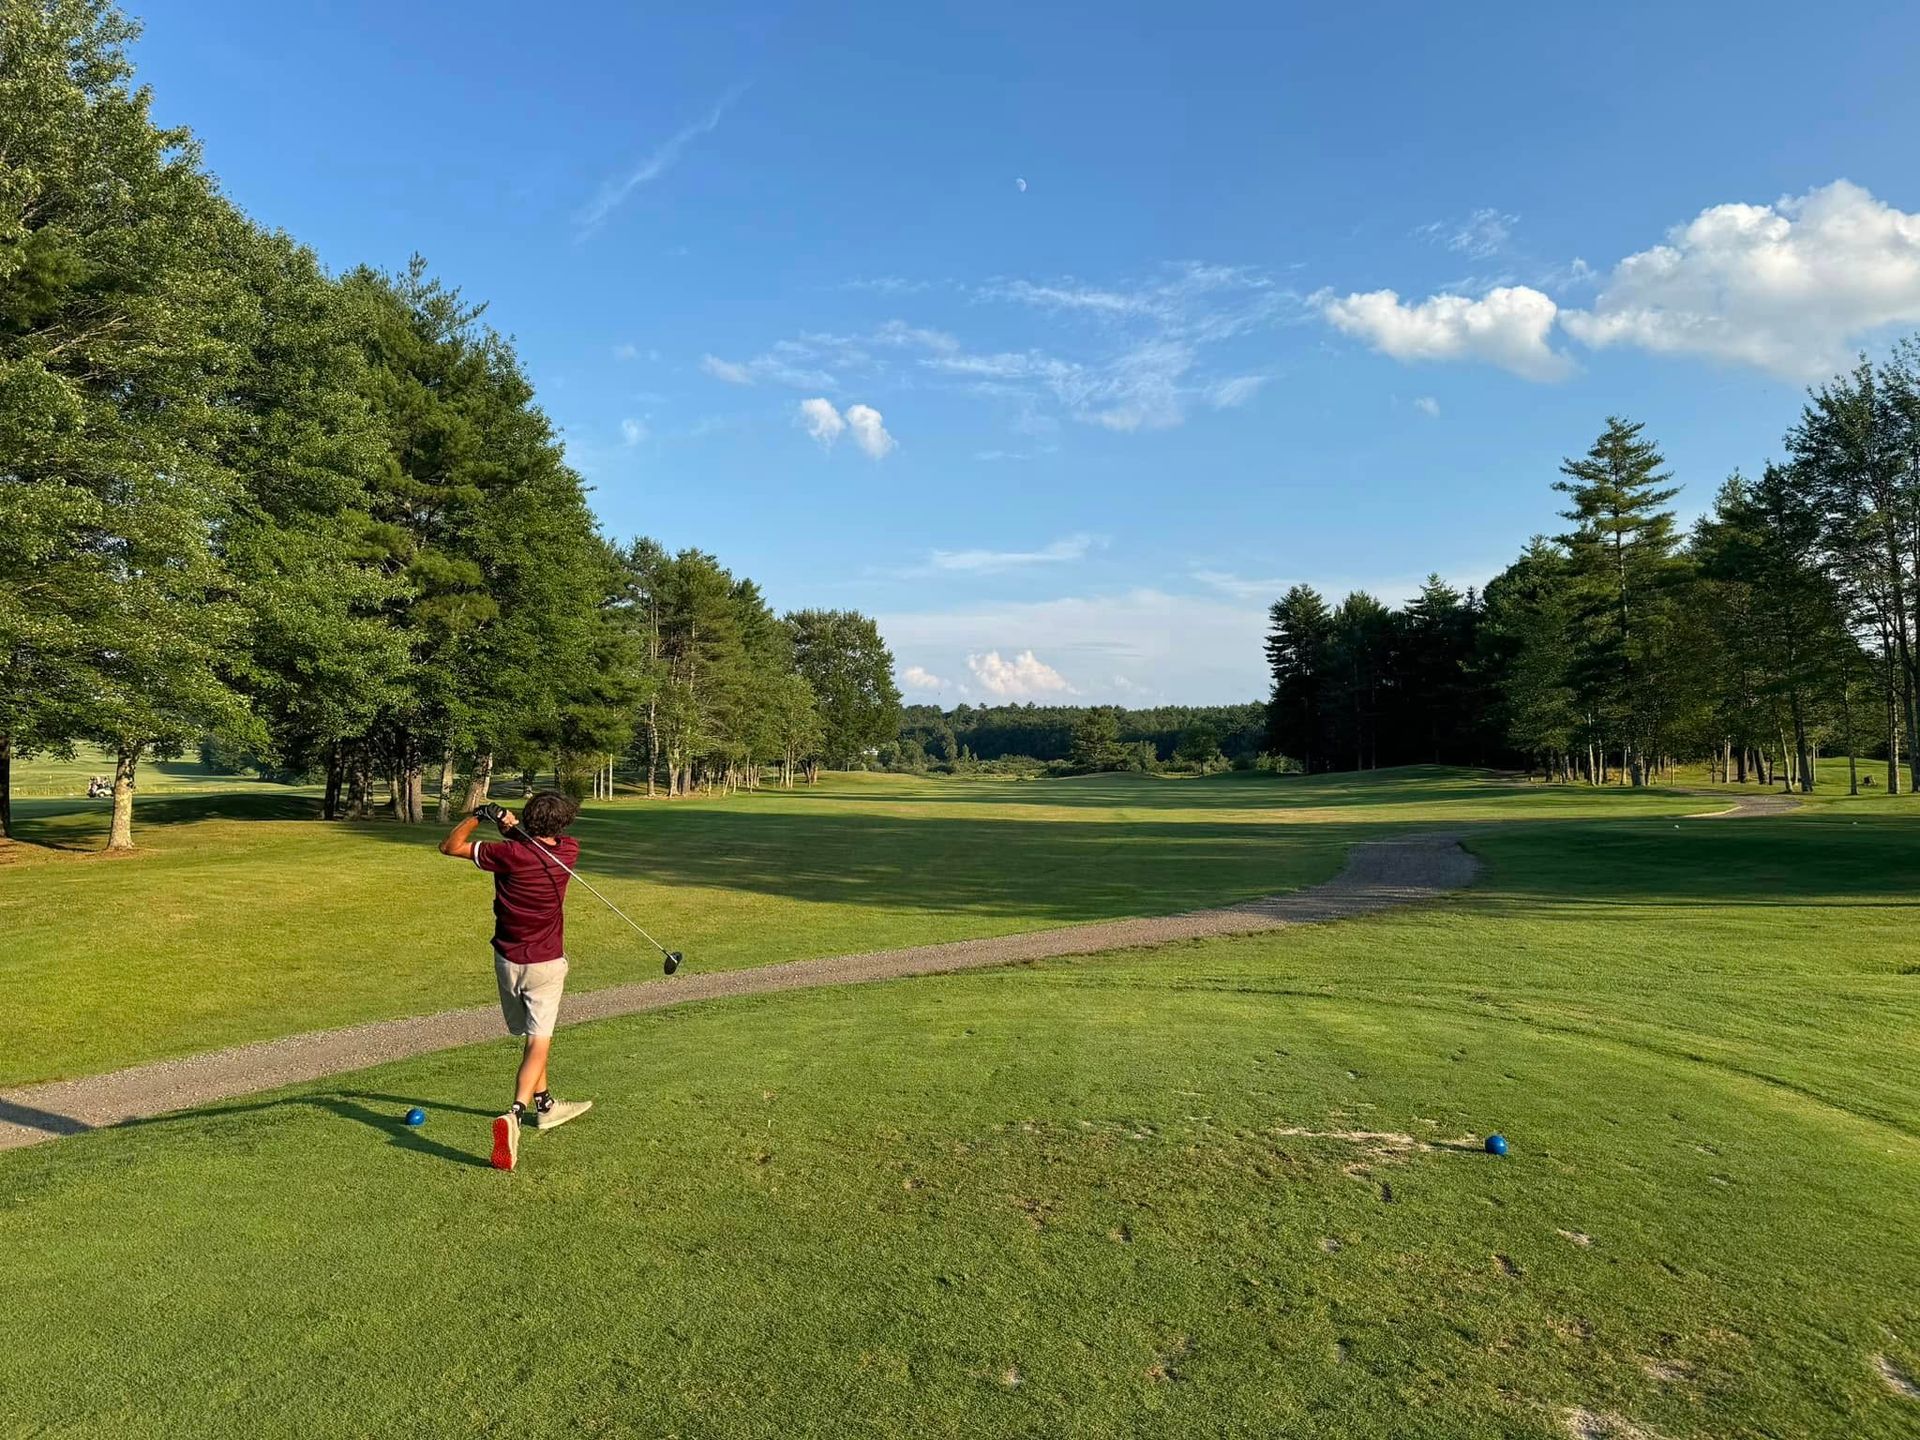
We are a golfer’s paradise, beautifully situated in the embrace of nature. Explore our carefully crafted course, where breathtaking vistas blend seamlessly with strategic challenges at every turn.
Hole 1
Describe the item or answer the question so that site visitors who are interested get more information. You can emphasize this text with bullets, italics or bold, and add links.Hole 2
Describe the item or answer the question so that site visitors who are interested get more information. You can emphasize this text with bullets, italics or bold, and add links.Hole 3
Describe the item or answer the question so that site visitors who are interested get more information. You can emphasize this text with bullets, italics or bold, and add links.Hole 4
Describe the item or answer the question so that site visitors who are interested get more information. You can emphasize this text with bullets, italics or bold, and add links.Hole 5
Describe the item or answer the question so that site visitors who are interested get more information. You can emphasize this text with bullets, italics or bold, and add links.Hole 6
Describe the item or answer the question so that site visitors who are interested get more information. You can emphasize this text with bullets, italics or bold, and add links.Hole 7
Describe the item or answer the question so that site visitors who are interested get more information. You can emphasize this text with bullets, italics or bold, and add links.Hole 8
Describe the item or answer the question so that site visitors who are interested get more information. You can emphasize this text with bullets, italics or bold, and add links.Hole 9
Describe the item or answer the question so that site visitors who are interested get more information. You can emphasize this text with bullets, italics or bold, and add links.
Hole 10
Describe the item or answer the question so that site visitors who are interested get more information. You can emphasize this text with bullets, italics or bold, and add links.Hole 11
Describe the item or answer the question so that site visitors who are interested get more information. You can emphasize this text with bullets, italics or bold, and add links.Hole 12
Describe the item or answer the question so that site visitors who are interested get more information. You can emphasize this text with bullets, italics or bold, and add links.Hole 13
Describe the item or answer the question so that site visitors who are interested get more information. You can emphasize this text with bullets, italics or bold, and add links.Hole 14
Describe the item or answer the question so that site visitors who are interested get more information. You can emphasize this text with bullets, italics or bold, and add links.Hole 15
Describe the item or answer the question so that site visitors who are interested get more information. You can emphasize this text with bullets, italics or bold, and add links.Hole 16
Describe the item or answer the question so that site visitors who are interested get more information. You can emphasize this text with bullets, italics or bold, and add links.Hole 17
Describe the item or answer the question so that site visitors who are interested get more information. You can emphasize this text with bullets, italics or bold, and add links.Hole 18
Describe the item or answer the question so that site visitors who are interested get more information. You can emphasize this text with bullets, italics or bold, and add links.
Walk the Course (Hole 1 - 9)
Hole #1
Hole #2
Hole #3
Hole #4
Hole #5
Hole #6
Hole #7
Hole #8
Hole #9
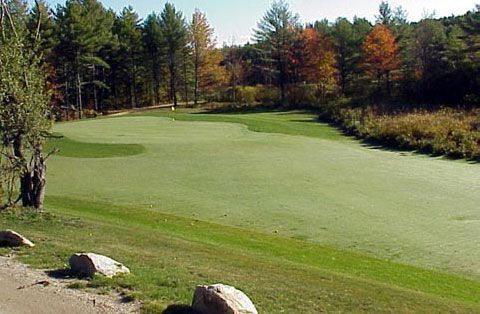
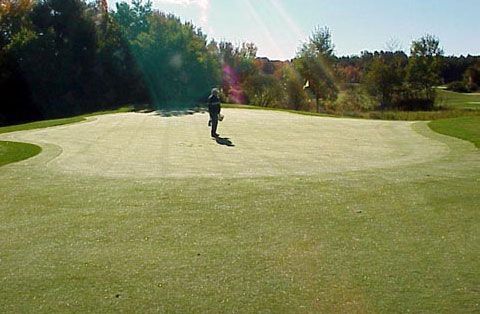
Challenge the pond on the right at your risk. Playing it safe on the drive will make your second shot long and hazardous. An approach right of the green will find the bunker and if you are long or left, you will find another pond.
Hole #1
Par 4
| Yellow | White | Blue | Black |
|---|---|---|---|
| 347 | 367 | 405 | 430 |
A left center tee shot leaves you with the best approach angle to the green. Too far left and you will find the pond…too far right finds one of the two fairway bunkers. The green is protected by a bunker on the left with woods behind.
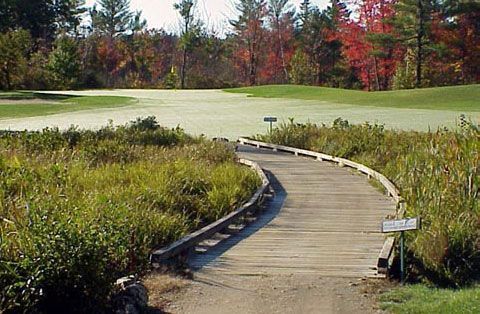
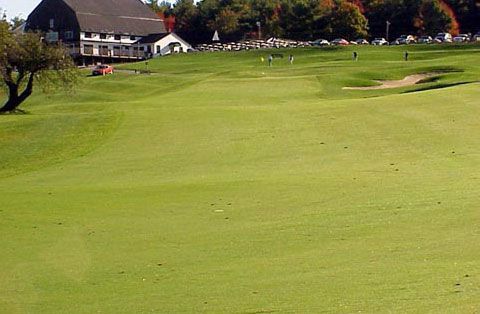
Hole #2
Par 4
| Yellow | White | Blue | Black |
|---|---|---|---|
| 273 | 283 | 337 | 362 |
Longest and most difficult of the par 5’s. A long drive could end up in the second wetland. A long second shot deep right center will set you up with the best approach to the green.
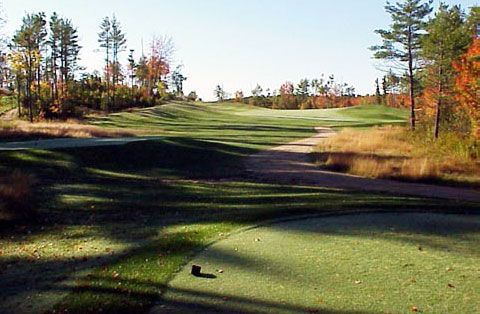
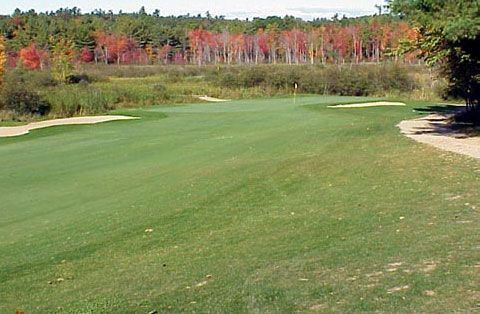
Hole #3
Par 5
| Yellow | White | Blue | Black |
|---|---|---|---|
| 452 | 500 | 555 | 600 |
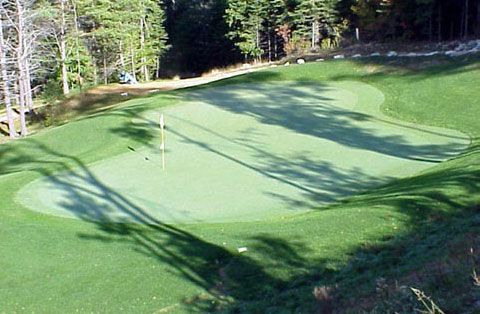
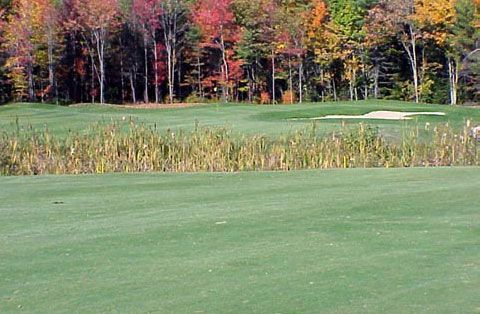
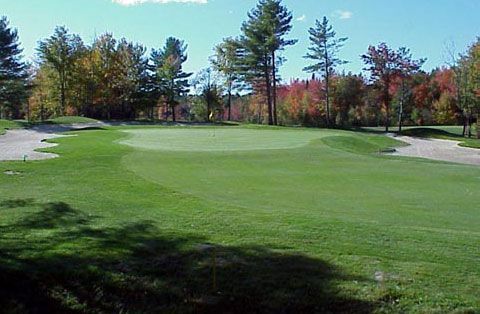
This hole has wetlands in front of the tee that should not come into play. A bunker guards the left front of the green.
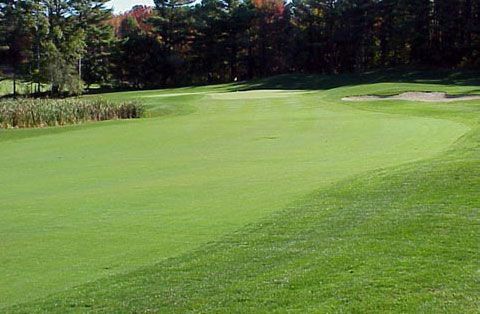
Hole #4
Par 3
| Yellow | White | Blue | Black |
|---|---|---|---|
| 112 | 148 | 162 | 190 |
This par four dogleg left plays slightly uphill. The best tee shot is left center of the fairway. Too far long and right will find the woods. Three small bunkers guard the right front of the green.
Hole #5
Par 4
| Yellow | White | Blue | Black |
|---|---|---|---|
| 286 | 341 | 351 | 386 |
This is a tricky par three that carries to the green. A short left tee shot will leave you at the bottom of the gully with a difficult pitch. The best shot is to the right side of the green due to the right to left slope.
Hole #6
Par 3
| Yellow | White | Blue | Black |
|---|---|---|---|
| 100 | 135 | 152 | 188 |

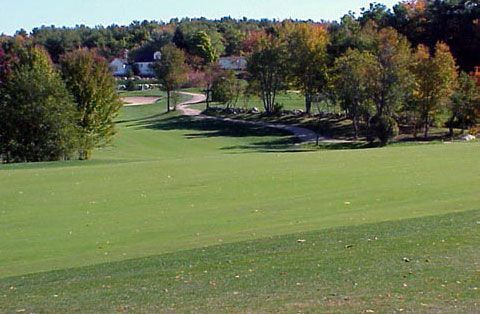
Picturesque hole from elevated tees. The fairway is all downhill and the green is closely guarded by a wetland hazard and a pot bunker in front. Woods also surround the back of the green. A long tee shot here could find the wetlands.
Hole #7
Par 4
| Yellow | White | Blue | Black |
|---|---|---|---|
| 270 | 280 | 300 | 325 |
A pond follows the left edge of the fairway all the way to green. A tee shot to the right center of the fairway will yield the best approach. The green is guarded by a front right bunker with woods close to the rear.
Hole #8
Par 4
| Yellow | White | Blue | Black |
|---|---|---|---|
| 327 | 367 | 387 | 432 |
An uphill dogleg left. The best tee shot is left center of the fairway. A large bunker guards the right side of the green which slopes from back to front. It’s probably best to leave your second shot below the hole.
Hole #9
Par 4
| Yellow | White | Blue | Black |
|---|---|---|---|
| 278 | 303 | 363 | 393 |
Walk the Course (Hole 10 - 18)
Hole #10
Hole #11
Hole #12
Hole #13
Hole #14
Hole #15
Hole #16
Hole #17
Hole #18
This is a dogleg right that is best played by hitting your tee shot at the center of the tall pine (approx 210 yards from blue tee). Be careful with your second shot! Bunkers guard the green left and right.
Hole #10
Par 5
| Yellow | White | Blue | Black |
|---|---|---|---|
| 439 | 464 | 522 | 557 |
A tee shot to the right center of the fairway gives you a good angle to the green. Be careful of the bunker to the right! A tee shot to the left of center will force you to carry over trees and a pond which guard the front of the green.
Hole #11
Par 4
| Yellow | White | Blue | Black |
|---|---|---|---|
| 293 | 340 | 357 | 390 |
Hole #12
A tee shot straight down the middle is best here. Take note of the pin placement because you might have to carry bunkers in front of the green.
Par 4
| Yellow | White | Blue | Black |
|---|---|---|---|
| 238 | 263 | 315 | 340 |
An island green is surrounded by wetlands. Don’t leave yourself short with a poor club choice! If you do…the drop area is to the right side of the green.
Hole #4
Par 3
| Yellow | White | Blue | Black |
|---|---|---|---|
| 76 | 97 | 127 | 155 |
A tee shot to the turn in the fairway of this dogleg left is ideal. You will be left with a short iron to the green, but beware of the right front bucker.
Hole #14
Par 4
| Yellow | White | Blue | Black |
|---|---|---|---|
| 250 | 268 | 327 | 355 |
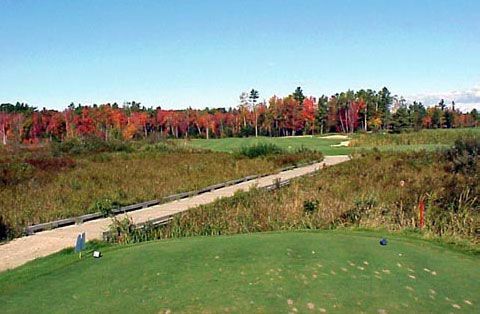
This hole is a long par 5 that requires you to carry two wetlands. Length off the tee is a plus here. You are left with a decision…carry the first wetland or lay up and carry both wetlands on your next shot. Be careful of the bunker on green’s right!
Hole #15
Par 5
| Yellow | White | Blue | Black |
|---|---|---|---|
| 415 | 464 | 509 | 539 |

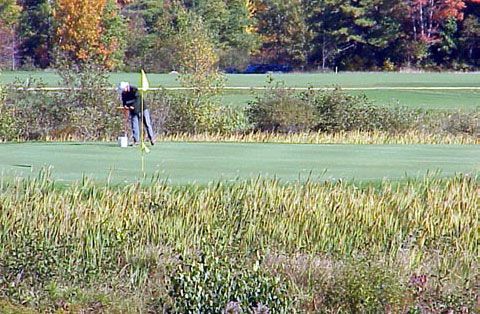
There’s no room for error on this picturesque par three. A unique horse shoe bunker guards the back of the green.
Hole #16
Par 3
| Yellow | White | Blue | Black |
|---|---|---|---|
| 81 | 100 | 116 | 129 |
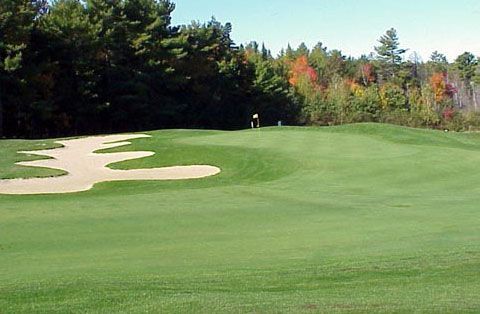
A long drive with a right to left draw is the shot to play here. The green is guarded by two finger-like bunkers.
Hole #17
Par 4
| Yellow | White | Blue | Black |
|---|---|---|---|
| 345 | 388 | 420 | 440 |
This dogleg left requires a long tee shot with a slight draw leaving you with your best position to the green.
Hole #18
Par 4
| Yellow | White | Blue | Black |
|---|---|---|---|
| 324 | 351 | 366 | 426 |