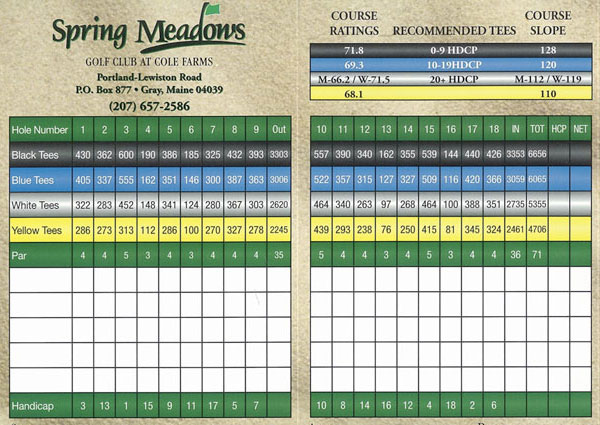
Course Scorecard
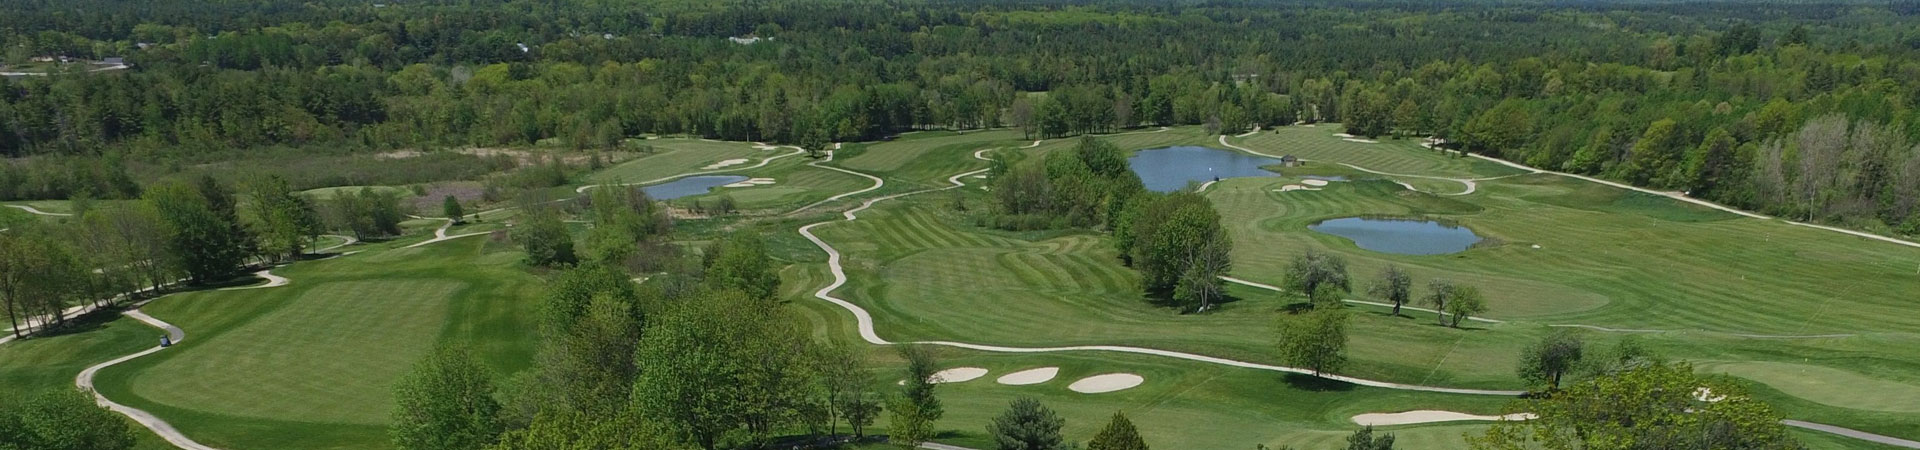
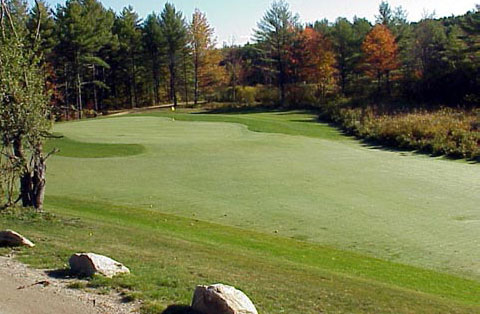
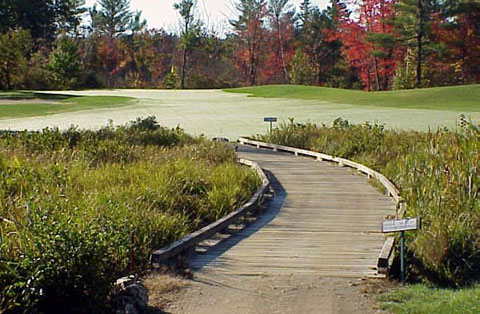
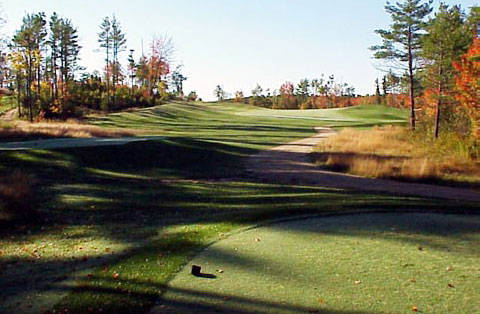
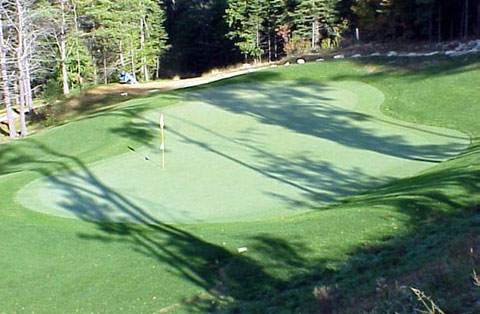
Walk the Course
-
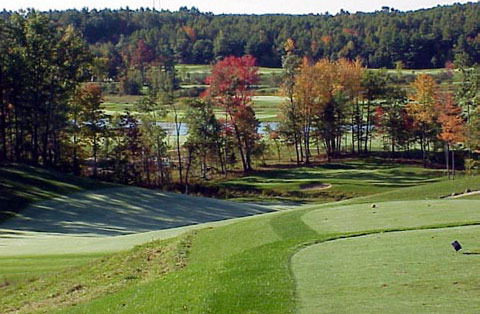
Hole #1
Challenge the pond on the right at your risk. Playing it safe on the drive will make your second shot long and hazardous. An approach right of the green will find the bunker and if you are long or left, you will find another pond.
Par 4 Yellow White Blue Black 347 367 405 430 -
Hole #2
A left center tee shot leaves you with the best approach angle to the green. Too far left and you will find the pond…too far right finds one of the two fairway bunkers. The green is protected by a bunker on the left with woods behind.
Par 4 Yellow White Blue Black 273 283 337 362 -
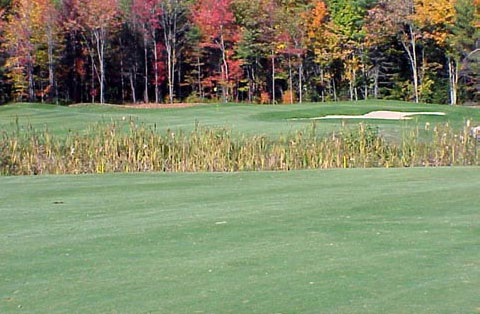
Hole #3
Longest and most difficult of the par 5’s. A long drive could end up in the second wetland. A long second shot deep right center will set you up with the best approach to the green.
Par 5 Yellow White Blue Black 452 500 555 600 -
Hole #4
This hole has wetlands in front of the tee that should not come into play. A bunker guards the left front of the green.
Par 3 Yellow White Blue Black 112 148 162 190 -
Hole #5
This par four dogleg left plays slightly uphill. The best tee shot is left center of the fairway. Too far long and right will find the woods. Three small bunkers guard the right front of the green.
Par 4 Yellow White Blue Black 286 341 351 386 -
Hole #6
This is a tricky par three that carries to the green. A short left tee shot will leave you at the bottom of the gully with a difficult pitch. The best shot is to the right side of the green due to the right to left slope.
Par 3 Yellow White Blue Black 100 135 152 188 -
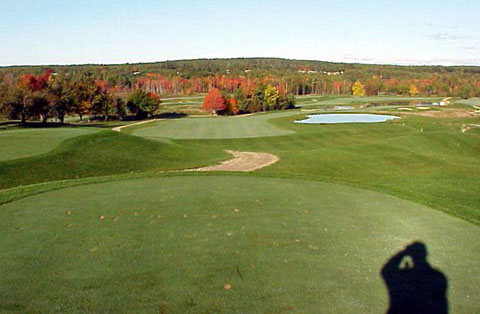
Hole #7
Picturesque hole from elevated tees. The fairway is all downhill and the green is closely guarded by a wetland hazard and a pot bunker in front. Woods also surround the back of the green. A long tee shot here could find the wetlands.
Par 4 Yellow White Blue Black 270 280 300 325 -
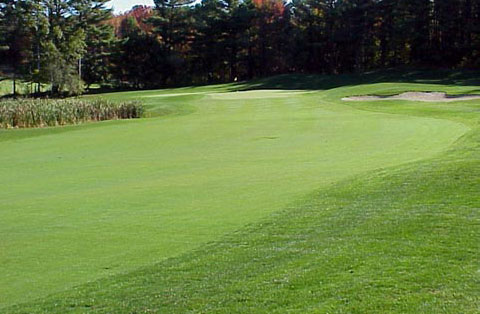
Hole #8
A pond follows the left edge of the fairway all the way to green. A tee shot to the right center of the fairway will yield the best approach. The green is guarded by a front right bunker with woods close to the rear.
Par 4 Yellow White Blue Black 327 367 387 432 -
Hole #9
An uphill dogleg left. The best tee shot is left center of the fairway. A large bunker guards the right side of the green which slopes from back to front. It’s probably best to leave your second shot below the hole.
Par 4 Yellow White Blue Black 278 303 363 393 -
Hole #10
This is a dogleg right that is best played by hitting your tee shot at the center of the tall pine (approx 210 yards from blue tee). Be careful with your second shot! Bunkers guard the green left and right.
Par 5 Yellow White Blue Black 439 464 522 557 -
Hole #11
A tee shot to the right center of the fairway gives you a good angle to the green. Be careful of the bunker to the right! A tee shot to the left of center will force you to carry over trees and a pond which guard the front of the green.
Par 4 Yellow White Blue Black 293 340 357 390 -
Hole #12
A tee shot straight down the middle is best here. Take note of the pin placement because you might have to carry bunkers in front of the green.
Par 4 Yellow White Blue Black 238 263 315 340 -
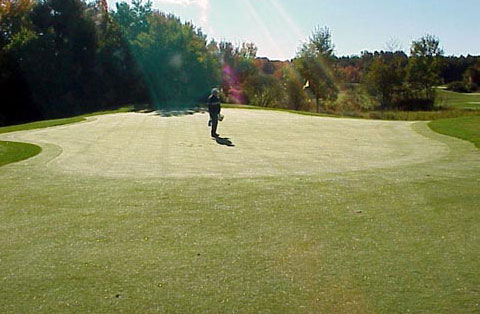
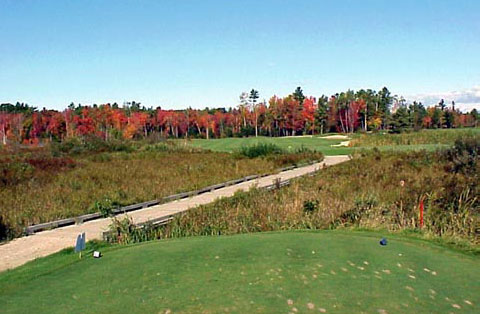
Hole #13
An island green is surrounded by wetlands. Don’t leave yourself short with a poor club choice! If you do…the drop area is to the right side of the green.
Par 3 Yellow White Blue Black 76 97 127 155 -
Hole #14
A tee shot to the turn in the fairway of this dogleg left is ideal. You will be left with a short iron to the green, but beware of the right front bucker.
Par 4 Yellow White Blue Black 250 268 327 355 -
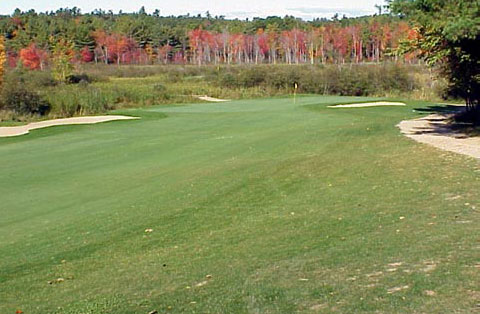
Hole #15
This hole is a long par 5 that requires you to carry two wetlands. Length off the tee is a plus here. You are left with a decision…carry the first wetland or lay up and carry both wetlands on your next shot. Be careful of the bunker on green’s right!
Par 5 Yellow White Blue Black 415 464 509 539 -
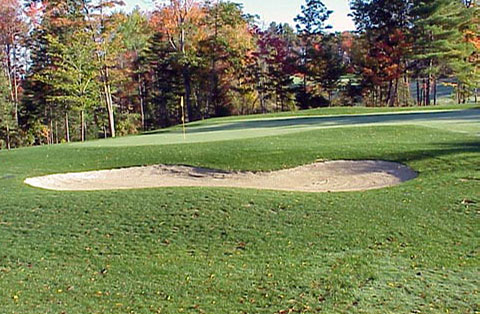
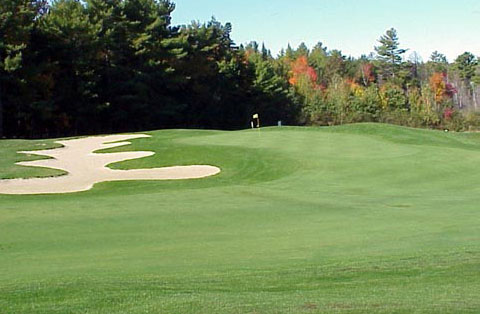
Hole #16
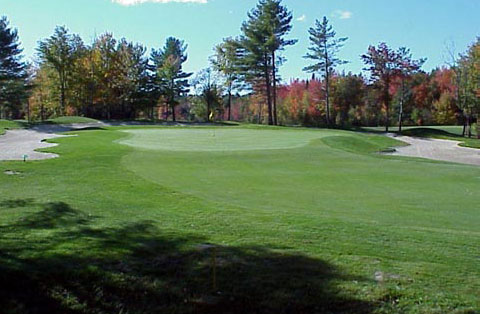
There’s no room for error on this picturesque par three. A unique horse shoe bunker guards the back of the green.
Par 3 Yellow White Blue Black 81 100 116 129 -
Hole #17

A long drive with a right to left draw is the shot to play here. The green is guarded by two finger-like bunkers.
Par 4 Yellow White Blue Black 345 388 420 440 -
Hole #18
This dogleg left requires a long tee shot with a slight draw leaving you with your best position to the green.
Par 4 Yellow White Blue Black 324 351 366 426